How to Create a Dungeons and Dragons Character
/
One of the most intimidating things as a new player to Dungeons & Dragons is creating your character for the game. Today we are going to list how to create your Dungeons & Dragons character step by step.
Whether you are creating a Rouge, a Wizard, a Paladin, or any other class, the steps for creation of a character are essentially the same.
Creating a unique character that is you is one of the simple joys that makes the game Dungeons & Dragons so fun. Today we will be building our characters utilizing the Dungeons & Dragons 5th Edition Player's Handbook. This book can be found at any local game store or picked up on amazon. You can pick up your copy of the Players Handbook on Amazon here.

If you do not have the book, no worries, there are free simple tools from Wizards of the coast that you can find here. Simply download the free players handbook. Including a download for the character sheets themselves in a form fillable version and a printable version. To find these go to Wizards of the Coasts website here: https://dnd.wizards.com/products/tabletop-games/trpg-resources/trpg-resources
It should be noted that there are more books available for 5th Edition Dungeons and Dragons when it comes to creating new characters that give additional options such as Xanathars Guide to everything or some of the explorers guide books like Explorers Guide to Ravnica or Volo’s Guide to Monsters. There are many others, but if you want a comprehensive guide of what comes in each book you can find them on D&D Beyonds page here: https://www.dndbeyond.com/races
Step 1: Build your Concept
What do you want your character to be? A physical combat character, a magical intelligent character, or a sneaky and brooding character. Whatever you envision will influence what you will sound like fun to play.
There will be 3 significant decisions for most character creation, the race, the class, and the background. We will be doing everything in that order, so be sure to have a notepad handy!
Some things that we can fill in before getting started if your character is starting at level 1 is the proficiency bonus. This is going to be a plus 2. So we can add that right to the sheet.
Step 2: Choose Your Race
The first Chapter of the player’s handbook is where the races to choose from can be found. Pick out the one that best represents the concept of a race that you want to do.

Some races have sub races, choosing whatever fits your idea your character will add additional features or enhance features of the base race.
Each race will have features and traits that should be written down in your features and traits section of your character sheet.
There will also be Some proficiencies and languages to write down in the proficiency section of the character sheet.

Let’s go over again my example character, the Human, Humans get an overall ability score increase of 1 as a feature as well as 2 languages, 1 being common. I will write these down in their respective boxes.
Step 3: Choose Your Class

Setting Skill PROFICIENCIES and Saving Throws
Chapter 2 in the Player’s Handbook is all about classes, fittingly, we are now deciding what class we should go with. This class will come with items, proficiencies languages and abilities. Once you pick your class we will write down what things the class comes with. read the class carefully. There are many segments usually with a bold subfont that tell you what you need to write onto your character sheet.
Let’s go back to my example character. I have chosen the Ranger class. I take my notepad and write down the recommended abilities for the class. For my class here the book recommends Dexterity and Wisdom.
Ok let’s start writing on the character sheet. Under class features of your picked class there will be bolded sections of information to add to your character sheet. The first is Hit dice.
Hit Dice - write down the dices and the amount your class can use in the hit dice section in the middle of your character sheet. When you heal you can expend a hit die to heal the rolled amount.
Hit Points - since we do not yet have our ability scores placed, write on your notepad that your character will get the conversion of your Constitution modifier plus the number given for hit points as a base.
Saving throws will also be determined by your class of character. When your Dungeon master asks you to make a saving throw, this number will end up being the modifier to your D20 dice role.
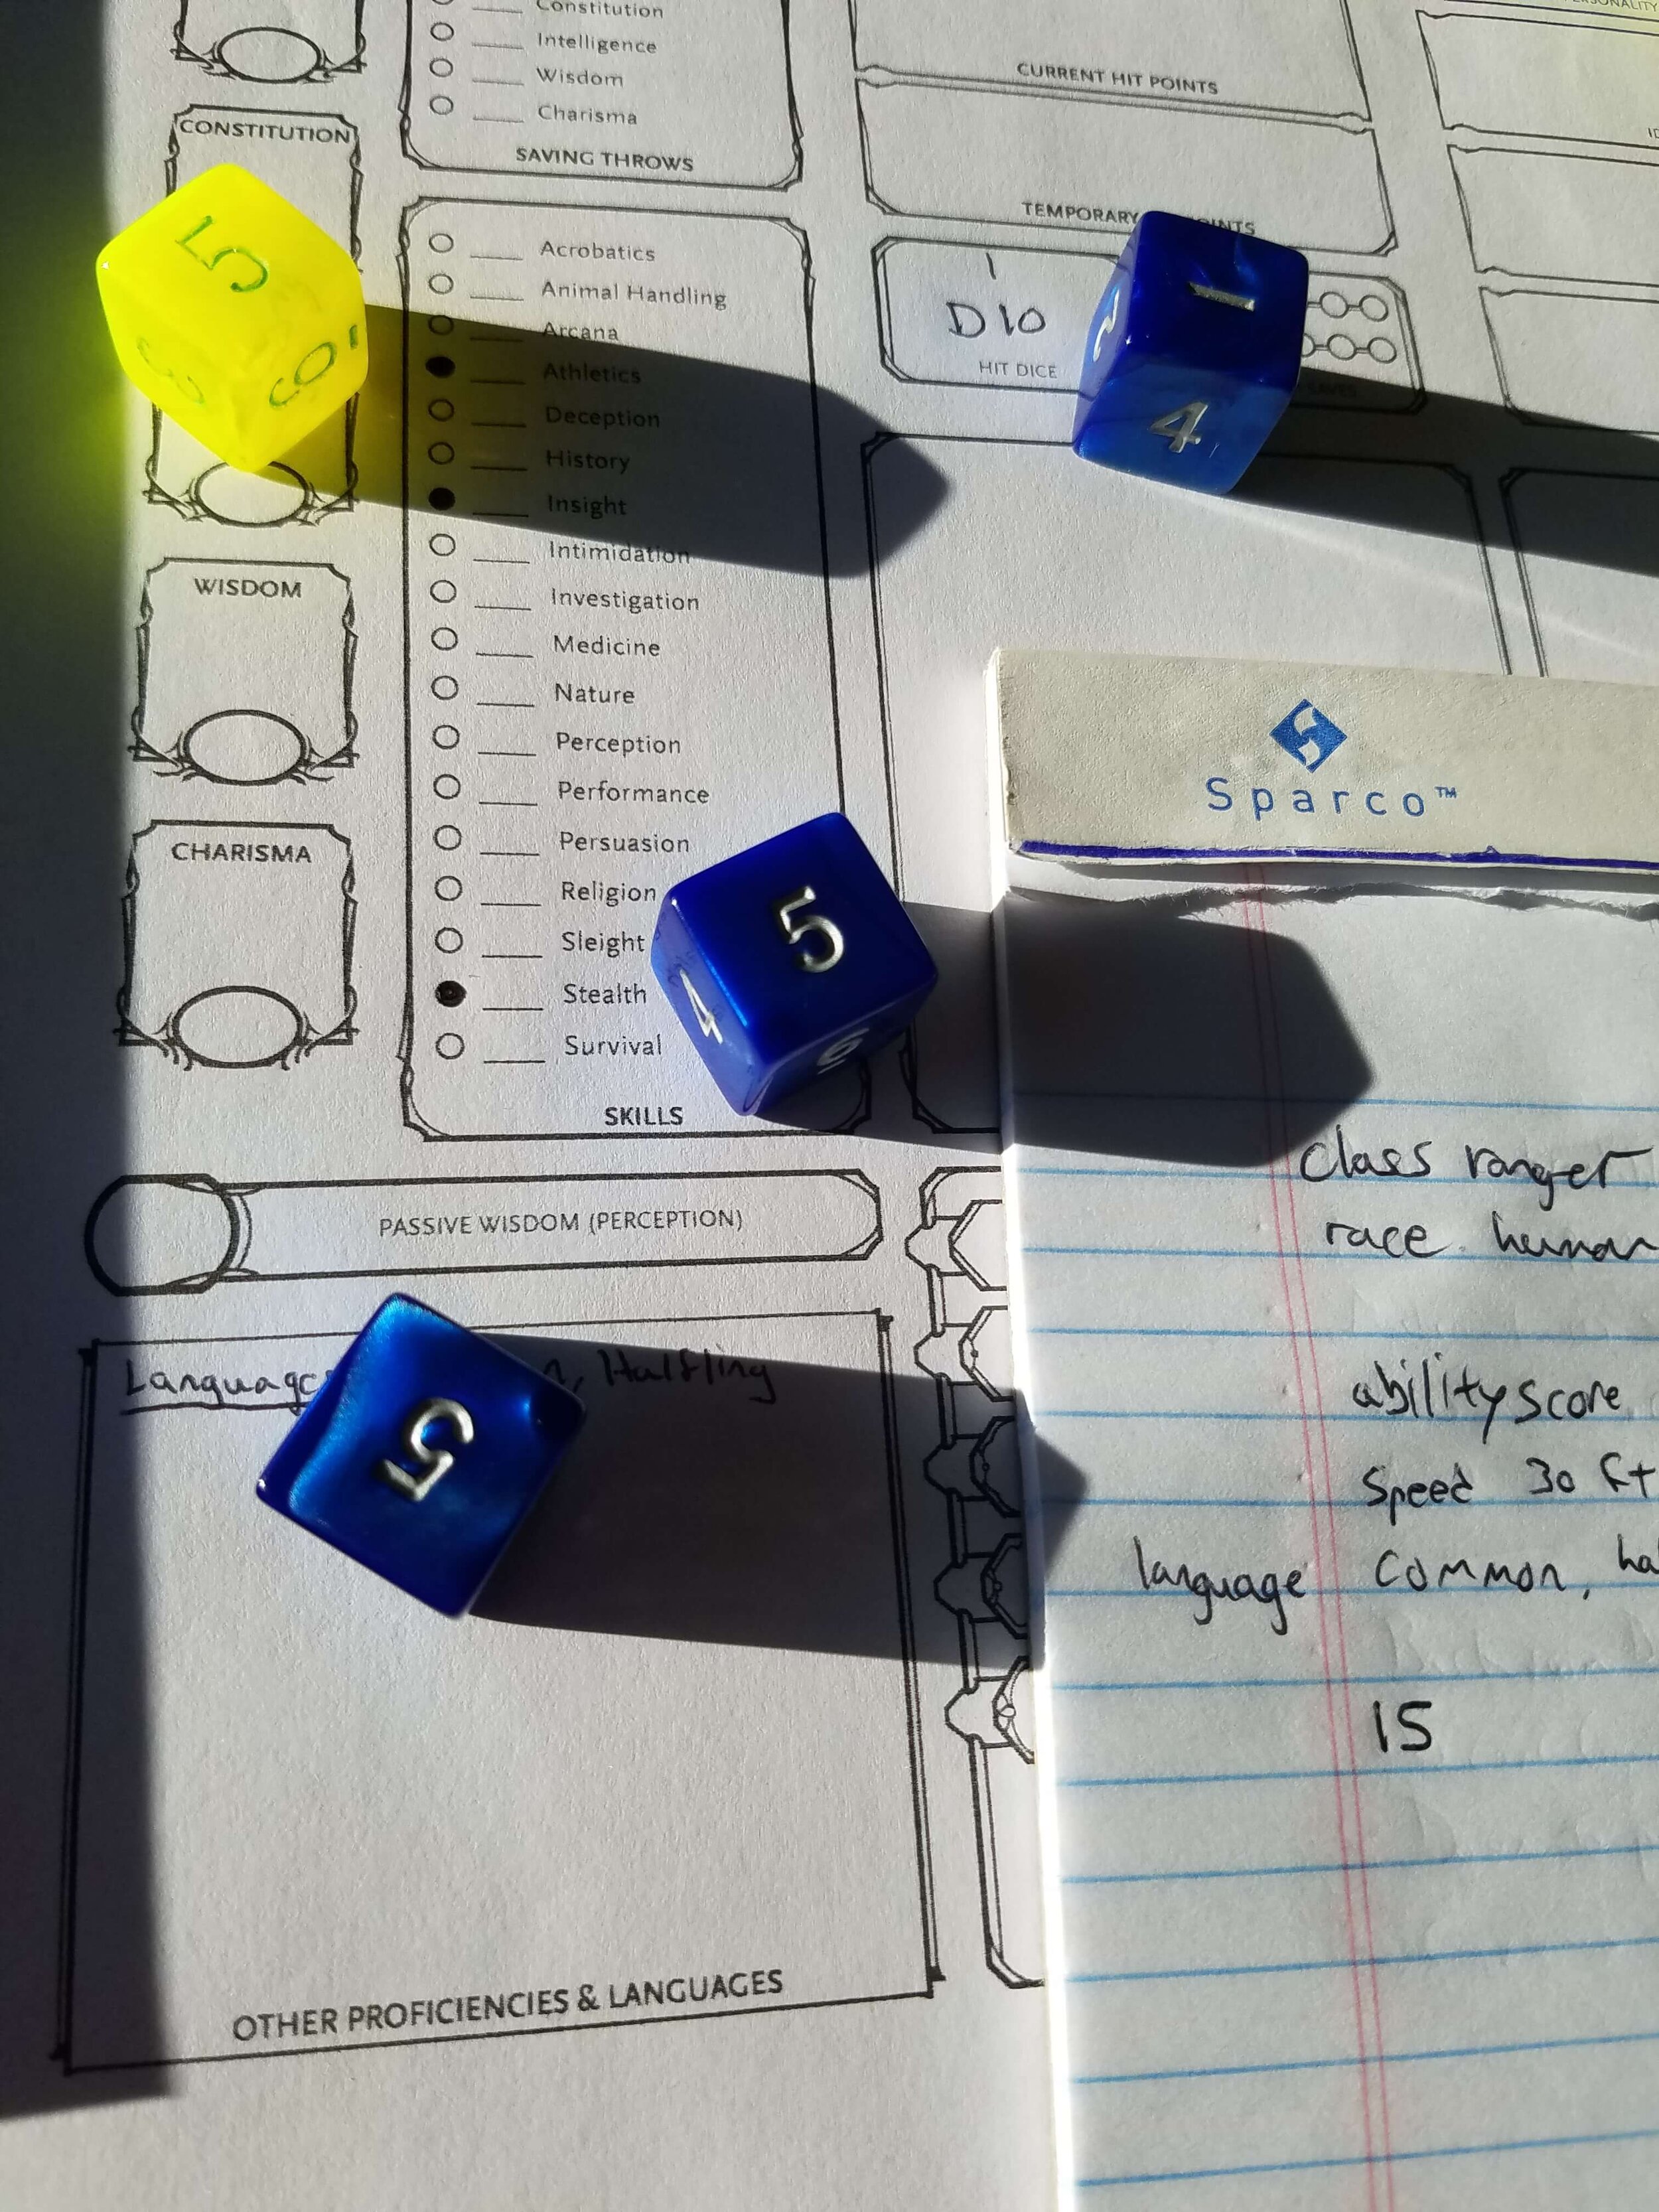
For example my ranger that I am building has proficiencies in saving throws for Dexterity and Strength. I will bubble these in.
Skills for my ranger I get to pick 3 skills to be proficient in based on what the ranger class allows me. To mark the 3 that I have chosen, I will fill in the bubble next to the skill.
Class Proficiencies - Now, I take time to move back to the proficiency section of the character sheet and write down all the armor, weapons, and tools that my character is proficient in. That means I can use these items without penalty.
Equipment - Equipment is the next section to fill out there will be item tables of choosing one or the other. Fill out your equipment section on your character sheet with one of each of these set options per line in the Player’s Handbook.
Additional Features - Each class will have some features to add as well to the features and traits section of the character sheet. Take time to read through them and add them to your features and traits section. Since these are longer winded, I normally write a brief description of them and add the page number to the Handbook I can look back into if I have more questions.
Whew! That was a lot. But it gets easier from here. We have 1 more major section to cover and then we will do the numbers.
Step 4: Pick Your Background
We need to get the background decided now as this will also impact potential scores in skills and get items. This is the last major decision of your character, after this much of the character sheet will be able to be filled out.
The backgrounds are in Chapter 4 of the Players handbook. browse through and pick one that suits the type of character you want to play or that enhances your characters abilities and items.
Another part of the backgrounds is the character traits, how there are random tables for each of these sections on the character sheet, but are merely for flavor. You can choose to either role these tables, pick your favorites, or even come up with your own.
Step 5: Get your Ability Scores
The nice thing about these is that each class in the book gives you the recommended scores to rank the highest to best play that class.
There are multiple ways to get your ability scores, take the book’s recommended numbers of 15,14,13,12,10, and 8. Or roll them yourself.
To roll for your ability scores, you will need a set of polyhedral dice. These dice sets are also know in the gaming community as Dungeons & Dragons dice. If you want to know more about what makes a set of these check out our article on What are D&D Dice.
I have chosen to roll for my ability scores, this means that I will take 4 of my 6 sided dice and roll them, subtracting the lowest of the 4 from the total and adding up the other 3. I will do this 6 times to get my ability scores.
Remember when we said to write down the recommended abilities for your class? Now we are going put those to use.
If you didn’t write them down, you can always go back to you class in the Player’s Handbook and it will be right there for you.
An example of the top two abilities for the Ranger that I am creating here suggests Dexterity and Wisdom.
Add these scores into the bubbles under for each ability box. We need to do a conversion to get the actual modifier each of these Abilities will have. The modifiers are as follows:
2-3 = -4
4-5 = -3
6-7 = -2
8-9 = -1
10-11 = 0
12-13 = +1
14-15 = +2
16-17 = +3
18-19 = +4
Above the bubble for each of the ability, write the corresponding modifier. Remember, if you have ability boosts for your class or race, add those to the base number and NOT your modifier. For example, a Human gets a +1 to all ability scores. This means if I have a 15 but and a human, I will get a 16 for my score resulting in a +3 instead of a +2.

Once these are all filled out you can now fill out the saving throws section of the character sheet. These will be your modifiers essentially copied over except for the ones you are proficient in in which your proficiency modifier is added.
Saving Throws - Copy over your ability modifiers to the corresponding saving throw. If you bubbled in your proficiency to the corresponding saving throws for your class, add the proficiency modifier (In this case +2 since we are level 1) to that saving throw modifier. Once done, it should look like the image below.
Skills - Now it’s time to do the same thing that we did with saving throws to the skills section of the character sheet. Each skill will have the corresponding ability modifier in parenthesis next to it. fill out all the skills by copying over the ability modifier to each skill and adding your proficiency bonuses onto any skill that was bubbled in your your class, race or background.
Now that we have all this done we can move on to the final steps.
Step 6: Determine Armor Class and Initiative, Passive Perception and Hit points
Now to determine armor class or AC, this will be 10 + your Dexterity modifier for when you are not wearing your armor.
figuring out what you AC is with armor, find the equipment that you chose for your class in chapter 5 in the Player’s Handbook. For me I chose leather armor, so this would put me at 11 + my dexterity modifier.

Next is your Hit point maximum. This will be for your first level, be the highest possible role of your hit die, in my case 10, plus your constitution modifier. That means my character will have a maximum of 11 hitpoints to start.
Initiative is the next part of this section of the character sheet, this is copied over as your Dexterity Modifier.
Finally let’s move down to under the ability scores, there is the Passive Perception. This will be your perception skill modifier with +10. So if you are proficient with perception, this can be even higher.
Step 7: Fill out the weapons section with the weapons you have with your character
Your weapons section on your character will determine what you can attack with and how much damage you are able to do.

Most weapons use strength for their modifier onto you roll to hit. However, if the weapon is finesse, you are able to use either strength or Dexterity. Write down your weapons in this slot of the character sheet and find the weapons in Chapter 5 of the Player’s Handbook. The weapons page will tell you what each weapon is, and the damage you can roll with the weapon. It will also tell you what that damage type actually is.
Once you have finished this part of the sheet, you are essentially done with this character! Now if your character is a spell caster, than we need to pull out the spell casting sheet next.
Step 9: Quick coverage on the Spell Sheet
For magic users out there, we have a little more to do. Each class will have a mention of the Spell save DC and the Spell Attack Modifier at the location of the class in chapter 2 of the Player’s Handbook. My ranger will have a spell save DC of 8 + my proficiency bonus + my wisdom modifier.
Likewise, my spell attack modifier will be my Wisdom modifier plus my proficiency bonus.
As your class levels, you will unlock more and more abilities, that have limits to their daily uses. Cantrips are able to be used as often as a player desires, with levels above it reducing usage via spell slots. For instance, If I have 3 spell slots and want to cast a level 3 spell, I cannot cast that level 3 spell again till a full rest. Each class will tell you the allotted amount of spells per level and per slot.
Conclusion
And that’s it. Yes it seems like alot, but once you get down the basics of writing down everything from the first 3 steps, everything else becomes super easy. Making character in 5th Edition has never been more enjoyable.
Hopefully you found this guide helpful, if you have questions leave them in the comments. Is there anything that we can cover better? Let us know, we would love to improve this resource for everyone.
Check out our other D&D related content and be sure to subscribe to our newsletter to get notified on more articles just like this!